Saturday, February 22, 2014

N Scale, or Just for Giggles 3

I don't model in N scale, but I frequently get questions as to what can be done in N scale.

A friend of mine, Don Spencer, ask if I could run some wire coils for open gondola loads.
 Here are some pictures he provided to me, and he also supplied some dimensions to work with.


I printed several, and sent them to him to see if they would work.  

 These are the pictures he sent me.  

I printed the coils in a three pack and a one pack, just to make it easier to put loads together.


 This is a small shed I printed as a gift for a friend, but on mine I screwed up, and did not get the door opposite of  each other.  And since I don't model in N scale, I just did not care enough to print another door.

The building was printed in six pieces.  The foundation, the walls, the doors, so they could be modeled open, the roof and the window sash.  I did not try to do anything to the roof, other than just paint the printed part.

I did an octagon barn in HO, http://nvrr49.blogspot.com/2014/01/octagon-barn-3d-printed-down-on-farm-6.html, and thought it would be rather easy to down size to N.
 I did have to eliminate some of the detail to make a decent print in N scale...like the cupola. 

All in all, there are thing that can be done in with the Afinia printer in N scale, but they are much more limited than larger scales.  I G scale, I have printed stake pockets, something that would not be possible in HO, and would be marginal at best in O.

And now back you my regularly scheduled HO scale programming.  

Sunday, February 16, 2014

Amherst Show 2014, #3, more stuff I picked up


The newest edition edition of trainmaster.tv from the Amherst show features the Afinia 3d printer booth, and shows a lot of my models.  However, it is a subscriber only video, so unless you  subscribe to Trainmaster.tv, you can not watch the video.

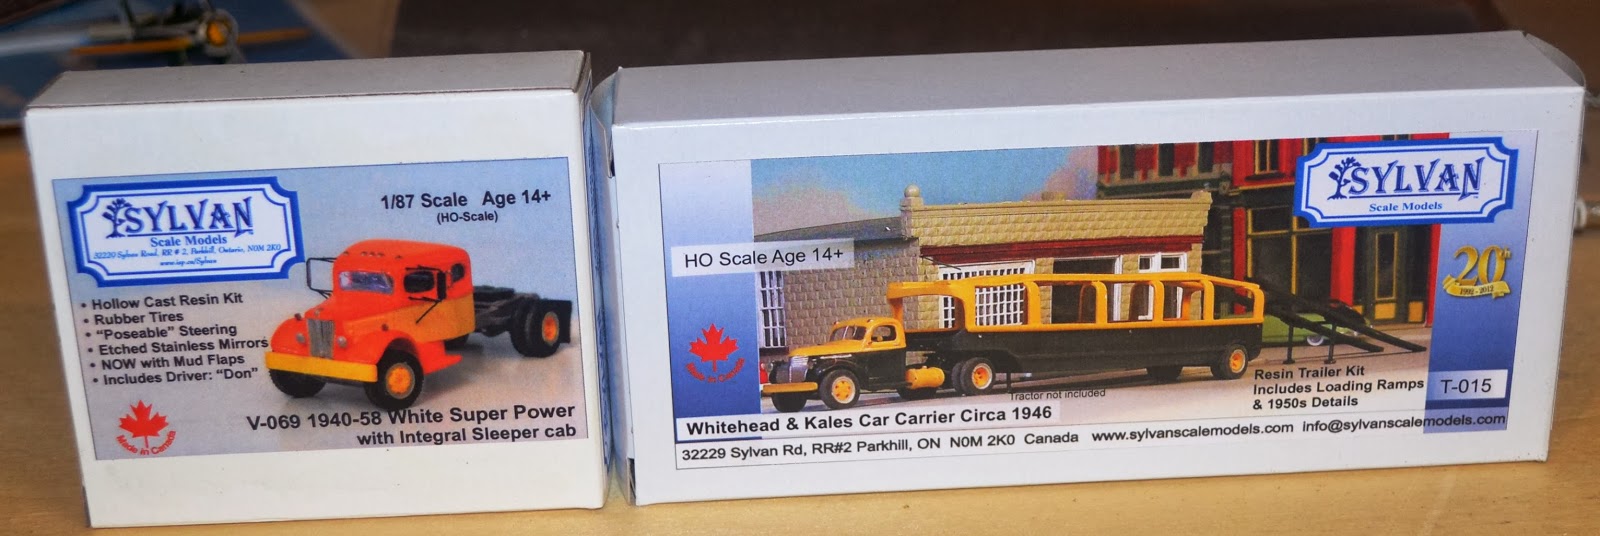
Here are some items I picked up at the Amherst show.  Sylvan knocked my socks off with there late 1940's offering of vehicles.

The model they had on display.
What I bought from Claire, with his help to get things right for my 1949 era railroad.

These were a great addition for me.  Sorry about the blurry picture.
I bought all four, so now I can have a Nash auto dealer with his new cars arriving.

And guess what they arrive on a new auto hauler.  This is a great addition, and he showed me another model he is working on for this era.  I did not buy the ice cream truck, but in retrospect, I wish I had...next year?
I wanted a sleeper to pull one of there trailers, so with Claire's help, I went with this combination.


I also picked up some cast resin building seconds.  Sorry, I don't remember the booth name, but they were right across from the Woodland Scenics clinic area.  All the buildings had issues, to say the least, but I picked up all three for $4.00.

This building will have to fit in to the end of a block of buildings since one side is blank. It is so small, I am not sure what to do with it, any suggestions?  I also will have to figure out how to treat the top edge of the walls, again, suggestions welcome.

Both of the log cabins actually look a little out of scale, with the doors being 8' tall, and most log cabins, back in the day, were lucky to have 6' doors.  I am cutting the bottom log off the buildings, which will make the windows a little low, but compromises must be made.

Both are full of air bubbles that I am filling, at least most of them.  The chimney is so bad on this one I just broke if off, and will print a new one.  

Saturday, February 15, 2014

Windmill & Tool Shed, Woodland Scenics #4, Down on the Farm #8

A two for one.  I always have a lot of projects going, therefore, multiple different threads, or series within the blog, going on at one time.  I am just about to the point where I have to start on the scenery on the farm diorama...and I really don't like scenery, which is why few things get actually finished.  I needed a windmill for the farm, and while digging it out of the Woodland Scenics box, I ran across a tool shed I figure I can stick somewhere.

The pars that come in the package on the windmill kit.  It seems line just about all the kits have some use for a piece of flexible wire.  It just seems to be in all of them.  After cleaning the flash from the castings, I tried to assemble the tripod that is the stand of the windmill.  The first issue was that one leg, the leg with the ladder, was about 1/16" longer than the other two.  )Woodland Scenics really needs to pull out the old masters and make new moulds more often.)  The next issue was how to hold the three sides in position while the glue dried.  

I ended up using the foam packing from the kit and cutting it to make a fixture to hold the sides in position while the epoxy set.  I used JB Weld slow set epoxy for metal.  IMHO, I use the original cold weld formula, http://www.jbweld.com/product/j-b-weld/.  It is reinforced with metal, is magnetic, which could be an issue in some situations, an can be machined if needed.  For metal projects where one wants an extremely hard bond, it is the way I go.

You can clearly see in this picture that one leg is longer than the others.  I used some more JB Weld and glued a small piece of wood to the top of the structure, and when it was set, I filed it to provide a flat surface for mounting the piece that is supposed to go on top  

I added a couple details, the actual pump, painted red, that I pieced together from some scraps of paper and styrene.  I will eventually run a pipe from the pump to watering troughs in the hog pen.  

I  also applied decals to the tail fin, I guess that is what you call it, with the lettering for a popular brand of windmill, Aermotor.  The decals were applied one letter at a time, as they were just a letter jumble from the decal junk box.  

The Tool Shed pieces from the Woodland Scenics web site.

I think I will add more green on the base to make the detail show up better.

Maybe some white dry brushing to make more of the details stand out.

For the hog farm, the last building I have planned is the corn crib, the one from Blairline, http://blairline.com/corncrib/.  So I better get started on it.

Previous posts in these series"
Down on the Farm:
http://nvrr49.blogspot.com/2014/02/farrowing-barn-down-on-farm-8-3d-printed.html

Woodland Scenics:


Friday, February 7, 2014

Farrowing Barn, Down on the Farm #7, 3d Printed

I think I am done with the 3d printing portion of the farm diorama.  The rest will be scratch built out of wood, or Woodland Scenic metal kits.  
The plans for the Farrowing barn, from the South Dakota State web site.

The 3d drawing, drawn in SketchUp, ready for printing.  From my experience, to get the best results printing lap siding, you print the walls upside down.  This eliminates the support material needed to hold up the overhang of the siding, and eliminates and sagging on the bottom edge of the siding.  See the house I printed, http://nvrr49.blogspot.com/2013/12/the-house-3d-printed-down-on-farm-5.html.  But, in this case, since I am modeling this as a weather beaten building, that hog don't treat with respect, I really want it to look bad, so I printed it in the upright position.

When it comes off the printer, it has a lot of support material and raft to remove.

It all comes off pretty easy, but there is a lot of scrap.  Note that the building is to the right, the rest is scrap.

The ratty looking siding really shows up after primer is applied, just what I wanted.

I added styrene bracing to support the roof, then applied corrugated roofing from Wild West Models,
http://www.wildwestmodels.com/Corrugated-Roofing.html.

I first cut the panels to length, in this case 6' long, then dry brushed the panels with a couple different shades of rust colored craft paints.  Next I gave them a wash of alcohol and India ink.  I then used weathering powders and a coat of flat finish.

To get the siding to look like raw weathered wood, after a coat of primer, I paint apply a wood colored paint.  Then I treat it like I would a piece of wood, and give it a wash of alcohol and ink, and apply some weathering powders.

Next I will finish up the Woodland Scenics windmill and tool shed.  

Previous posts in the Down on the Farm series:

Sunday, February 2, 2014

Amherst Railway Society Show 2014, #2

Some of the stuff I bought.  This is the first group.  

I don't have a place for the Gulf sign, but is it lighted and each letter lights up in sequence.

A friend bought me a some metal cars.  The one in the fore ground is a basket case, and its restoration will probably be post by itself.  

The low side gondola was glued together with what looks like Ambroid wood glue.  It will take some work to get ready to run.  Anybody know what color of currently available paint I should use to match the EJ&I green low side gondola.  The metal Mantua flat car will be stripped, painted and decals applied.

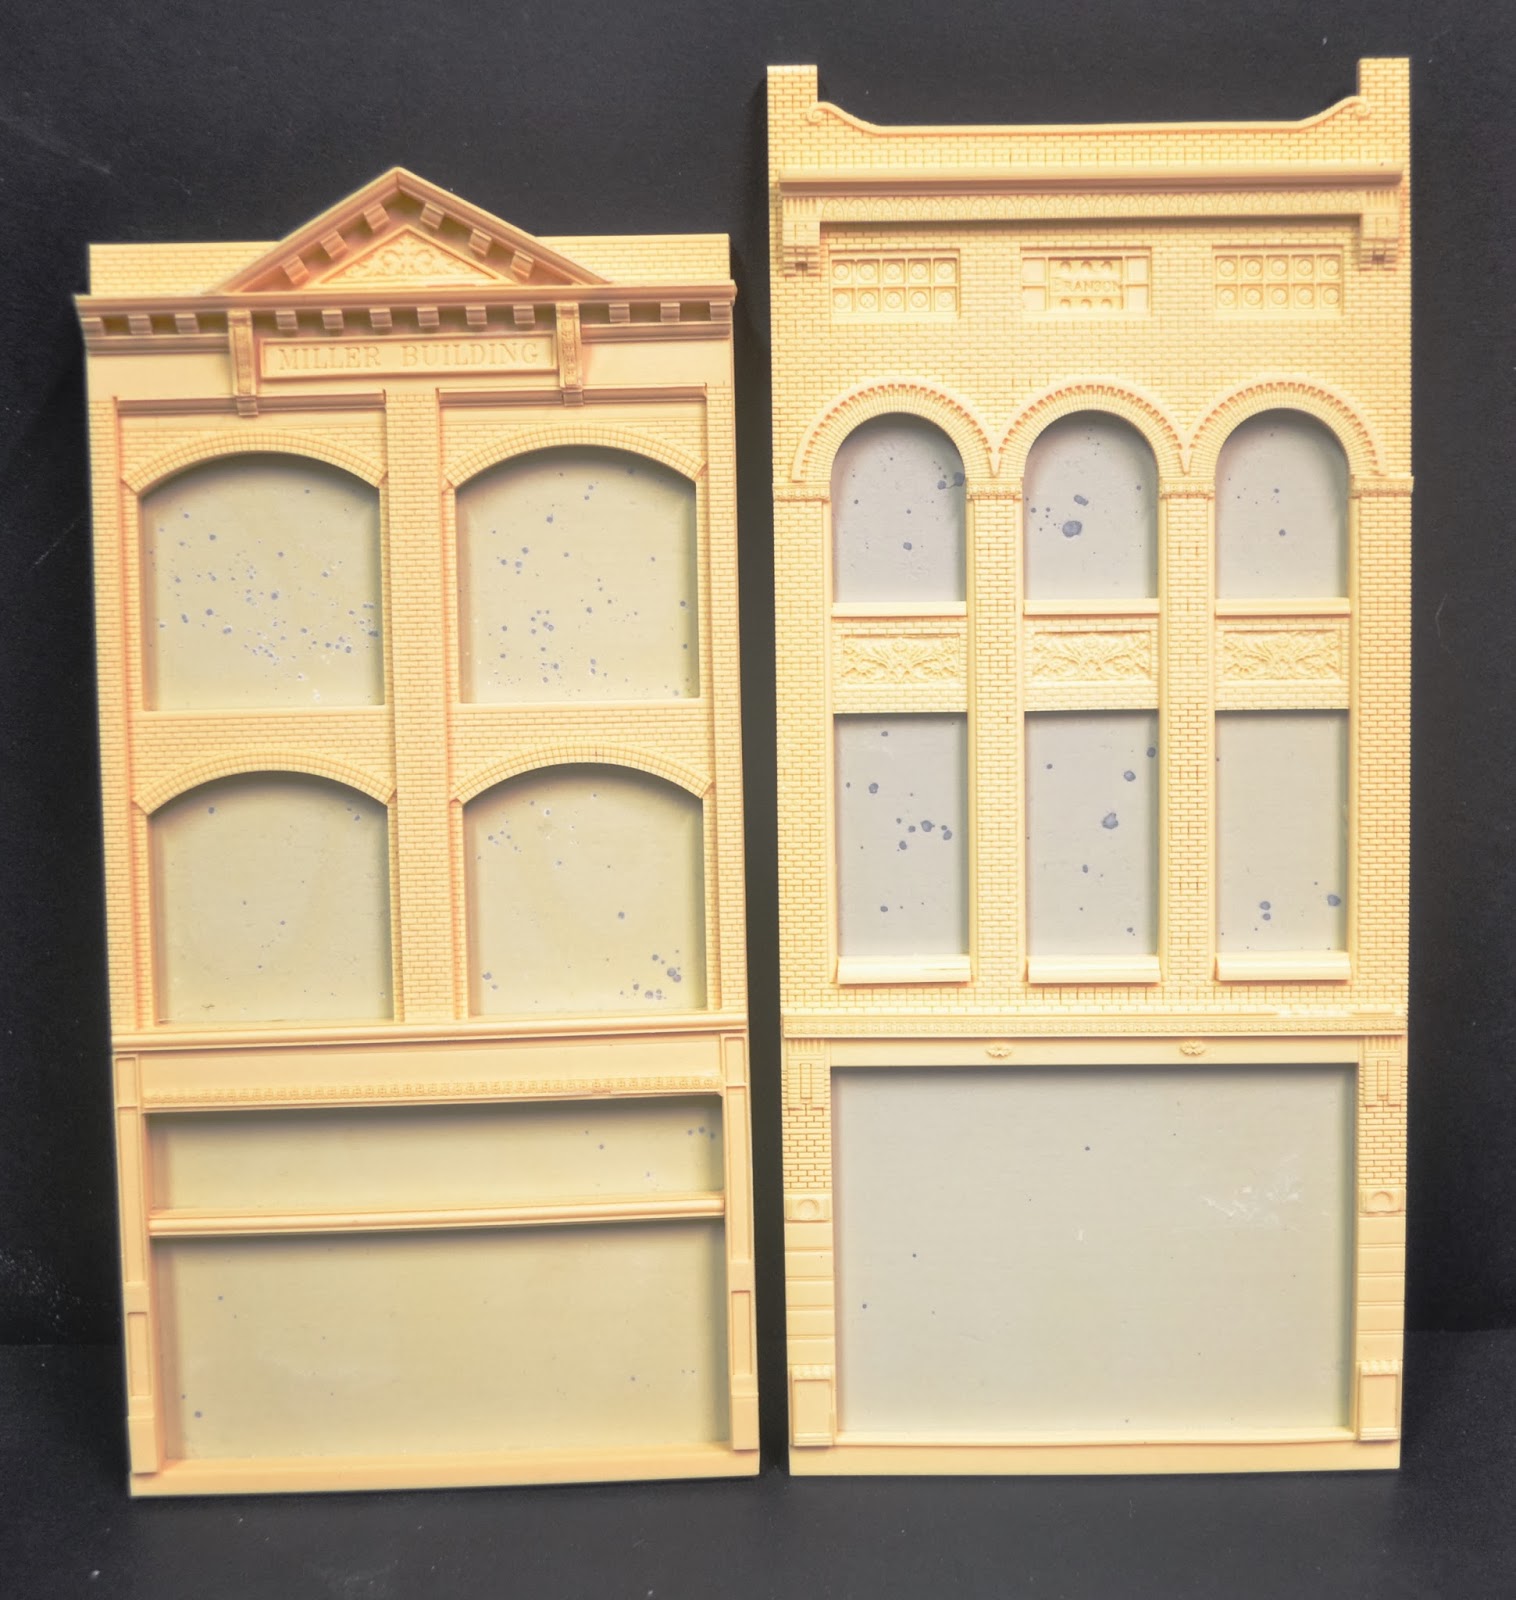
Chooch Industries is getting out of the structure business, and, as such, had some building fronts they were closing out, so I picked up a couple.  I will probably be use Clever Models paper concrete blocks or brick for the side walls, and 3d print the windows and store fronts.

This is a, "what is it?".  I don't see any markings on it, it weighs a ton, and I could not get electricity to make the motor make any noise.  

Is it worth anything?

Is it worth getting running, which I assume will take remotoring, unless I get lucky and cleaning gets it moving?

Any history or background on it would be appreciated, and I will update this entry with any information I receive. 


More stuff next week.  I will also be listing some items on ebay, I buy some stuff, space wise, I gotta get rid of some.

Saturday, February 1, 2014

Amherst Railway Society Show 2014 #1

Woodland Scenics sponsors three free make and take clinics each day of the Amherst Railway Society show.  This year I had the pleasure of assisting Fran and Miles Hale of Model Railroad University with the clinics.


I have never attended the Amherst show before, and have never been a part of a make and take clinic that included children.  We did a clinic on trees, one on scenery, and one on building a plastic structure each day.

The classes are limited to 50 people, and I think we had over 40 for all but one of the clinics.

See that empty chair, that was mine.  A mom and four children, with no experience kept me busy, but we had five complete buildings two hours later.

I also spent some time at the Afinia 3D printer table, where they had 2 printers running all day, both days.  And yes, that is my HO scale smokehouse on the flier.  

I did not spent much money at the show, but I did get a few things, but I will save that for next time.