The next building I am making for my farm diorama is the slaughter house. Below are the plans from the South Dakota State University web site.


I have adjusted the drawing from my print. I found several issues with my first print job. I added printed in place bracing to the corners and the top and bottom of the walls. I also added thickness around any openings in the walls.

The printed building is kind of flimsy, the reason I added bracing to the drawing should I ever want to print it again.

Primed

I painted the building with Badger's Modelflex Concrete, and the windows with white.

One of the reasons I added thickness around the window and door openings was to make it easier to install them. With the update, the inside of the windows will be flush with the inside of the walls. It also provides more surface for glue.
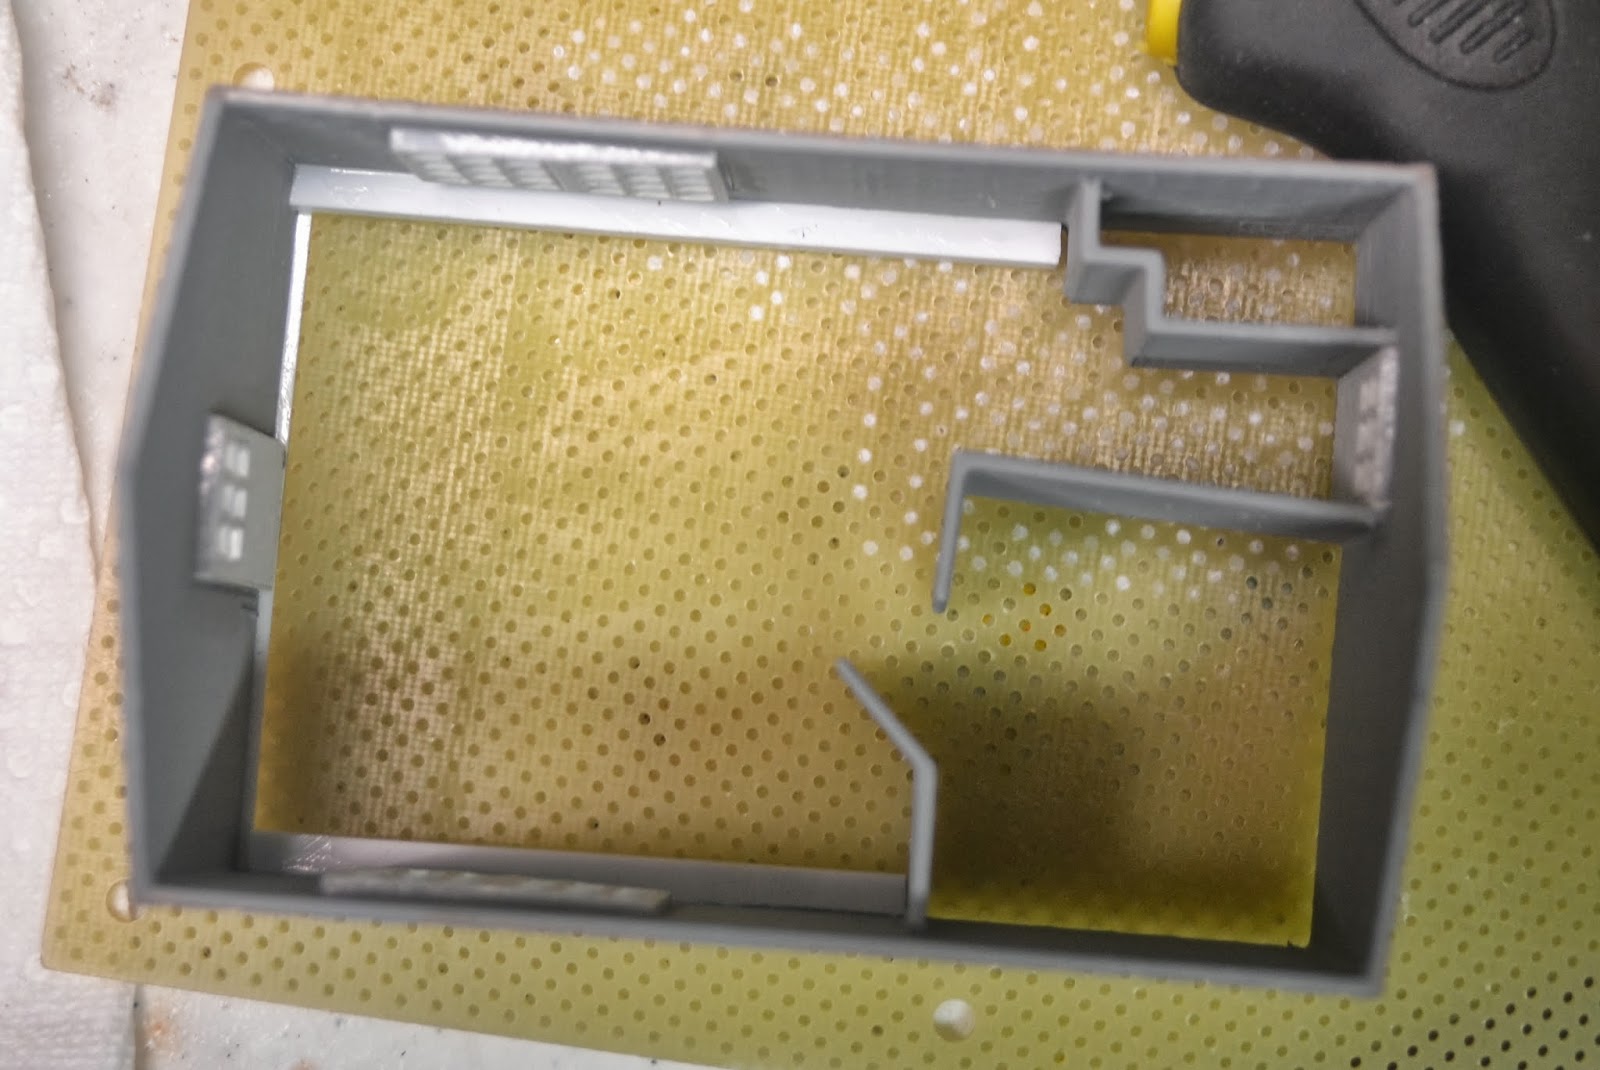
 From above you can see some of the bracing I added. The hallway wall on the freezer room was crooked, not that anyone would be able to see that through the windows, but just in case, I did add a header to connect the walls and straiten things out.

I made the roof out of .080 styrene and reinforced it as shown.

Cutting both sides of the roof the same size seemed the easiest, and then I just added a strip at the ridge and sanded it flush.

For roofing, I decided to use paper printed (2d) shingles. To give them some depth, I decided to cut them in to strips, and notch each row half way with scissors. It sounded like a good idea, but three hours in to it, not so much. It better look really good when I am done for me to do it again.

I am not making a removable roof and fully detailing the interior, but I did want to have some detail showing that might be seen through the windows. Just inside the windows in a holding pen and scalding tank on one side, and a table on the other.
Well you be the judge on the roofing.

I used my Ash Grove Red weather powders on the roof. On this side you can see the holding pen and the scalding tank through the window.

On this side one can see the cutting table through the windows.

And, if you have read this far, then maybe you are interested in earlier posts in this series.
The Storm Shelter: http://nvrr49.blogspot.com/2013/09/storm-shelter-down-on-farm-2.html
No comments:
Post a Comment