So, I am at my favorite Comic and Gaming show, Hurley's Heroes,

https://www.facebook.com/hurleysheroes,
and I ran across some inexpensive plastic gaming figures, lots of selection at gaming shops.


I believe these are called 25mm figures, someone will correct me if I am wrong, but they are somewhere near O scale (1:48). Too big for my HO scale layout, and besides they are fantasy figures.

But I thought I could use them in the town square as a statue with a reflecting pool. I chose a couple, and designed and 3d printed a base and reflecting pool.

The first attempt came out way too small.

So, I about doubled its size, and

hollowed out the bottom to save material and print time. Material is cheap, print time, or as Miles Hale says, "those ticks on the clock", are more important.

The large stand looks a lot better to me, so I went with that.

I primed the figures, and painted them with Sophisticated Finishes Bronze, http://www.tricoatstore.com/home.php?cat=253. Using their coatings, you end up with real weathered bronze, or copper, or rusted metal, depending on the product you choose.

In this case, I chose bronze. It is hard to beat the color when it is the real thing. Sophisticated Finishes uses "A liquid of ground bronze that creates a dark brown metallic finish. Treat with Patina Blue Antiquing Solution to oxidize into a dark blue verdigris finish."


Other items on which I have used Sophisticated Finishes.
Click on the link under the picture to see the original blog post.
Click on the link under the picture to see the original blog post.

Both copper and rust.
fire-station-ho-scale-model-with-3d printed details

Rust.
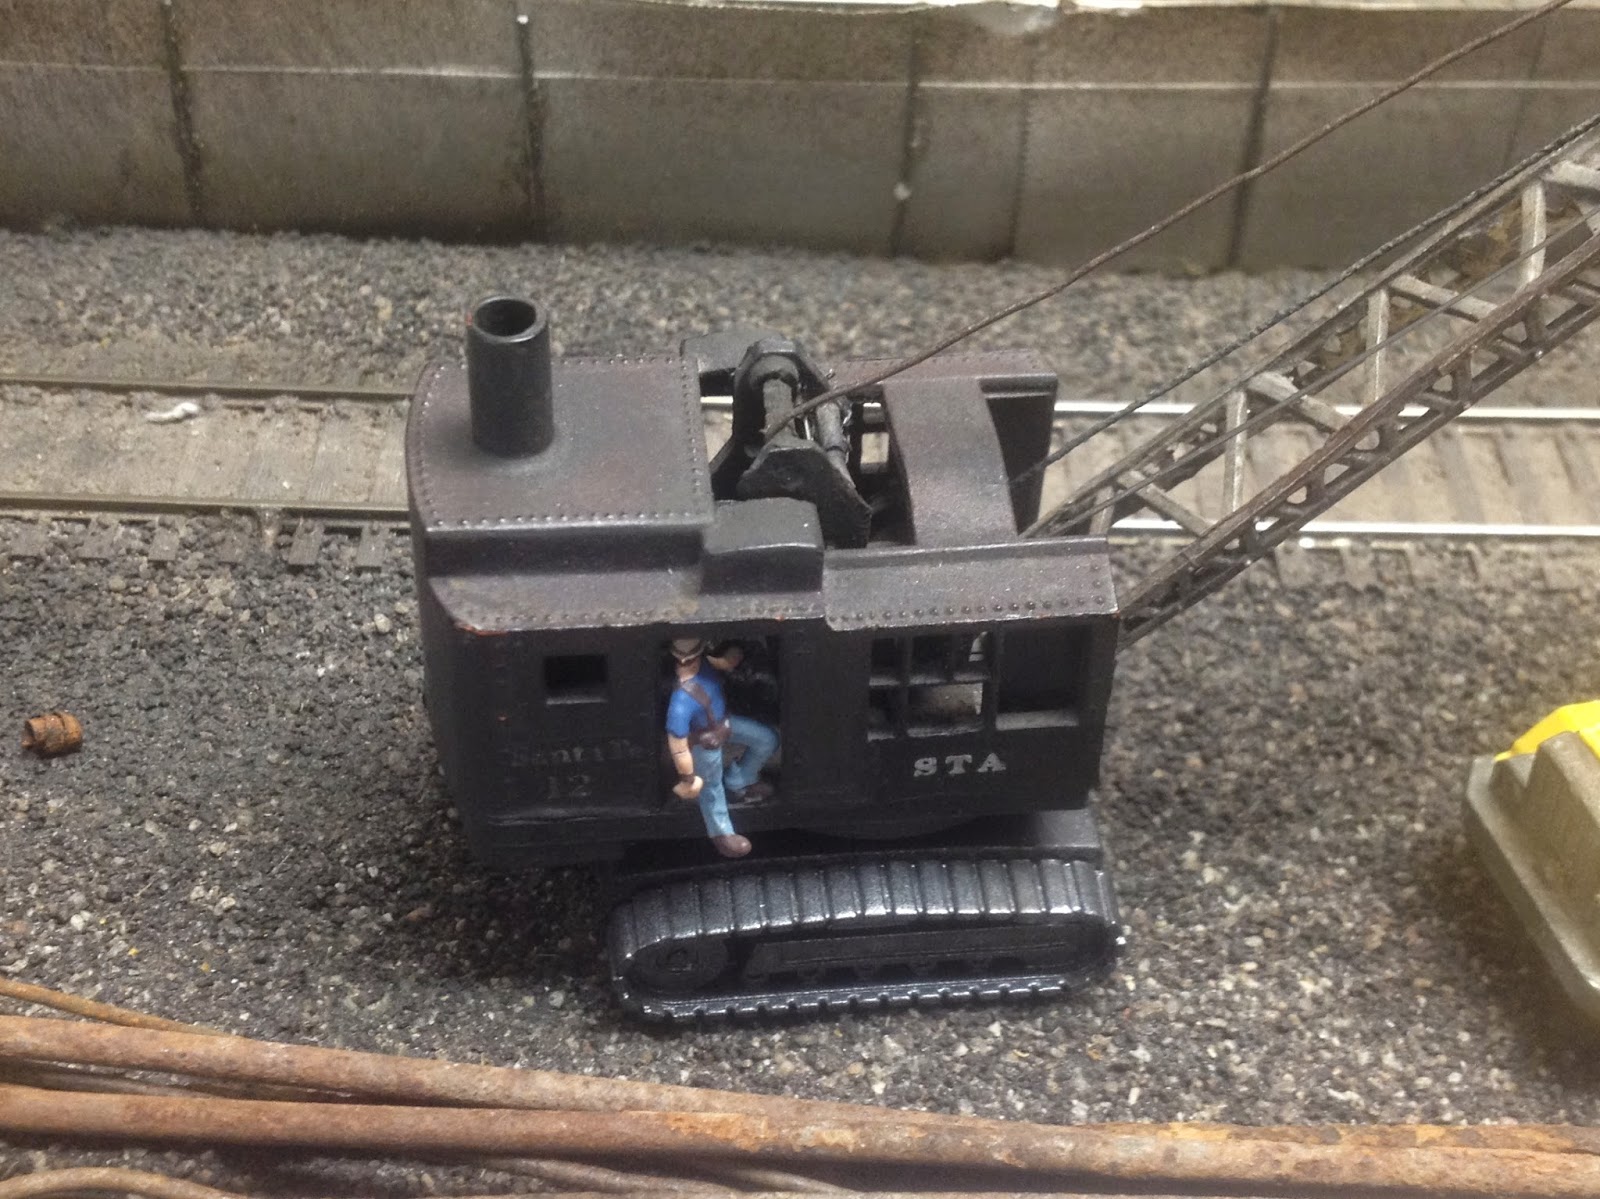
ho-mining-engine-on-z-scale-mechanism 3d printed shell