Friday, April 29, 2016

Roof Details, 3d printed, Shapeways

This is a set of items that I designed for printing at Shapeways.  I had used some of these designs as part of other projects, but wanted to get all the roof details in one place.  Since then, I have had requests for special assortments, which I have done, no problem.

This is the drawing that was uploaded to Shapeways.  It includes, from left to right, front to back:       Front row
1. six roof drains
2 & 3.  two types of roof vents, six of each
Center row
4. four large ridge mount roof vents
5.  four rectangular "J" type vents
6.  four round "J" type vents
Back row(s)
7.  large ventilation unit (2 parts, assembly described below)
8.  electric motor powered "J" style vent
9.  assortment of duct work, including three styles of elbows, two of each, and eight straight sections

Just another view of the drawing.  Basically, everything is hollow.  It is more prototypical, but is also saves on material.

From the other end.

The large ventilation unit.

The motor driven vent, with some color added.

Some of the items after some paint is applied, either gray primer or silver finish coat in this case.

The large ventilation unit is printed in two pieces, the main unit and a ring used to glue a screen over the fan.  I used wedding veil tulle for the screen.

The roof drains are one of my favorite details. 

Just set in place for the picture.  The angle could be adjusted with a file to fit different roof pitches.

Roof Top Details #2 3d printed
Drill a hole in the roof, and drop these drains in for a really neat look.

This set is available for sale on the Shapeways website at: HO scale roof-top-details

Enough details in the set to use on four or five buildings.


Other posts about Shapeways details:
bath-fixture-update-3d-printed-in-ho
tire-shop-187-scale-3d-printed-details
machine-shop-tools-3d-printed #1
machine-shop-tools-#2
machine-shop-tools-#3
chain-saws-ho-scale-3d-printed


Wednesday, April 27, 2016

Gears, or how to use that 40% off Hobby Lobby coupon

I saw a post on Facebook about some gears that were available at Hobby Lobby, that could be used for scenic detailing, and thought I would check it out.  I believe this is the set on the left is what was posted on Facebook, and they look pretty good, but I found the package on the right in the charms area first, and I like it even better.


Note, that is 100 gears!  Subtract the coupon, add tax, and that is less the 7 cents a gear!
 Obviously there are a lot of duplicates, but there really are a hundred of them, and in several different colors, and/or materials.  These have basically no thickness, so it would be hard to make the functional, but they will make great open loads and scenery. 

 And no, the penny did not come with the set :).  

 Here are a couple other sets they had.  This one would be a little large for HO, but could work in larger scales, even in G.

I am not a fan of Hobby Lobby, but I will have to have them all.  This set is particularly cool.  These work out, with the coupon and tax, to less than 30 cents each,  You can't make them for that.  Note there are really only four styles, just three of each, which is the same as the first set shown.

Thursday, April 14, 2016

Turkey Creek Make and Take wood kit, 2015, part 2

Splitlog Wagon Wheel Factory

This turned out to be too long as one post, so I split it up, to make it easier to navigate.  

A screen shot of some of the roof details and the wall fan I 3D printed for the factory. 

  
 I designed the chimneys with a few bricks missing, as the I model 1949, and the factory would have been abandoned for many years.  For rust, I used Sophisticated Finishes iron paint and rusting solution. 

I test fit the details to see where they looked the best.  These were all printed on my Afinia home printer.

 I also added a couple roof vents on the lean-to.  Note the chimney's I put on the interior, so that if you look through the windows, the chimney's going through the roof have something supporting them on the inside.

 The diorama is about 12" square.  I formed the base from foam and covered it with hydrocal.  

 The loading dock was mostly made from pieces from the scrap box.  As an abandon building, I made the dock with a couple holes in it, and weathered it heavily.  

 
The wagon wheels were 3D printed at Shapeways to my design.  I painted them a tan wood color, then stained them with Alcohol and India Ink.  For the steel rim, I painted the edge with Sophisticated Finishes Iron paint, then rusted the iron with their rusting solution.  The letters to the lower right were printed on my home printer, and are for the companies sign.  Note that upon rusting the rims of the wheels, that I also rusted the glass.  It scrapes right off, but with Sophisticated Finishes Iron paint, you can literally rust anything, including glass.  The picture on the right shows the pile of rust from scraping the glass with a hobby knife.
I used a ponce wheel to make the nail holes.  The view from the back.  The tall grass tufts were cut from some natural fiber string.  

Lighted to show the broken windows.


The wagon wheels were 3D printed at Shapeways, as my home printer would not produce the quality I desired.  Since then, Afinia has upgraded the software, and it will do better, but still not as nice as Shapeways.  


The damaged pallets were printed on the Afinia printer.  Most of the grass is Woodland Scenics.

The gravel is Woodland Scenics, and the dirt is, well, dirt.  I sifted it year ago.

Several photos of the front.  The windows are Grandt Line.

The roof vents were glued in place with a mixture of Alene's Tacky Glue and black craft paint.  It give a nice tar like appearance. 


Sunday, April 10, 2016

Turkey Creek Make and Take wood kit, 2015, part 1

Splitlog Wagon Factory

Each year the Turkey Creek division of the NMRA hold a build challenge.  Last year, 2015, they offered a selection of wood kits, custom made to your scale.  The kits were designed and cut out by members of the division, and cut on a Cricut.  The windows and doors are Grandt Line.  The kits are supplied a February (as I recall), and then everyone brings their models to the June meeting to show off what we have done.  Since I just started working on the 2016 model, I thought I ought to post something on the 2015 entry.  If you are a model railroader in the KC area, and you aren't a member of the Turkey Creek Division, you are missing out on a great deal on a kit each year!

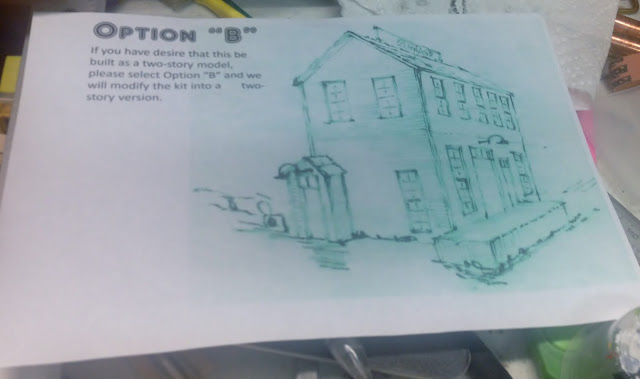
I chose the model, at the time, not knowing what I would do with it.  Note that the entry is offset to the back and there is a small lean-to addition on the side away from us.  By the way, this picture is basically the only thing that could be called directions.  Some parts were bagged and labeled, but otherwise, the picture is it. It is a true craftsman kit. 

I ran across this picture of the Splitlog Wagon Factory in Splitlog, MO.  Although obviously bigger than the model above, it kind of has the character of the building.  

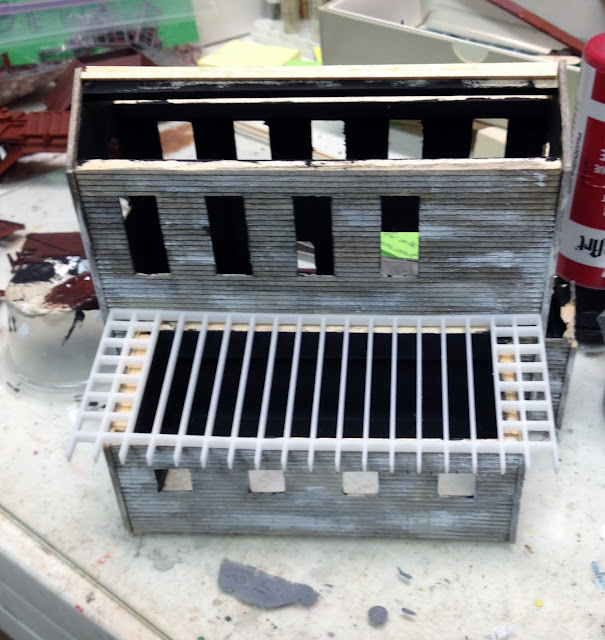
To make the building larger, I made a much larger lean-to on the back side.  I stained all the siding with an alcohol and India Ink wash.  Then I dry brushed the building with white craft paint.

I painted the interior flat black, and eventually I will install some black construction paper as view blocks so you can't see between floors.  

 To add even more additional manufacturing space, I added a basement under the lean-to.  I designed and 3D printed the foundation.  Under the addition, I made concrete blocks.  Under the rest of the building, I set the foundation back enough that I could glue real rocks to the face, to have a rock foundation.

 Here is a section as it looks coming off the printer.  

Here is a shot with the foundation all finished, the rocks glued in place and mortar filling in the spaces.  

 For the roof framing, I designed and 3D printed prototypical roof framing.  Due to the size of the building, versus the size of my printer, I printed each side in two sections.

 
I also printed roof framing for the lean-to.  

 I painted and weathered the roof framing to look like wood.  I just realized how long this post is getting, so I will split it in to a couple posts.  

I installed printed paper, laser cut wood shingles.  I glued them on with Aleene's Tacky Glue.  

 One of the reasons for the prototypical framing, was so that I could make some prototypical looking holes in the roof.  

 I put a hole on both sides of the roof.  I did use a ponce wheel to create nail holes in the siding.  

The roof on the lean-to was covered with the roofing supplied in the kit, which was made by the talented Larry Diehl.   

In part two, I will install the roof and wall details, install the loading dock, and complete the diorama.