
Closer to the 2017 show than this years show. Yes, I am at least that far behind.
There were several clinics at this years Amherst show that had structures as part of the clinic. Basically, make and take clinics. I did not take the clinics, but helped present them, so I made these items at home. Obviously, having all the time I needed, and was able to add details that one would not have time to do in a two hour clinic. The details, however, could be added after you take the building home.
First up, the Basic Wood Kit. This was a kit cut out on a Cricut, https://shop.cricut.com/.
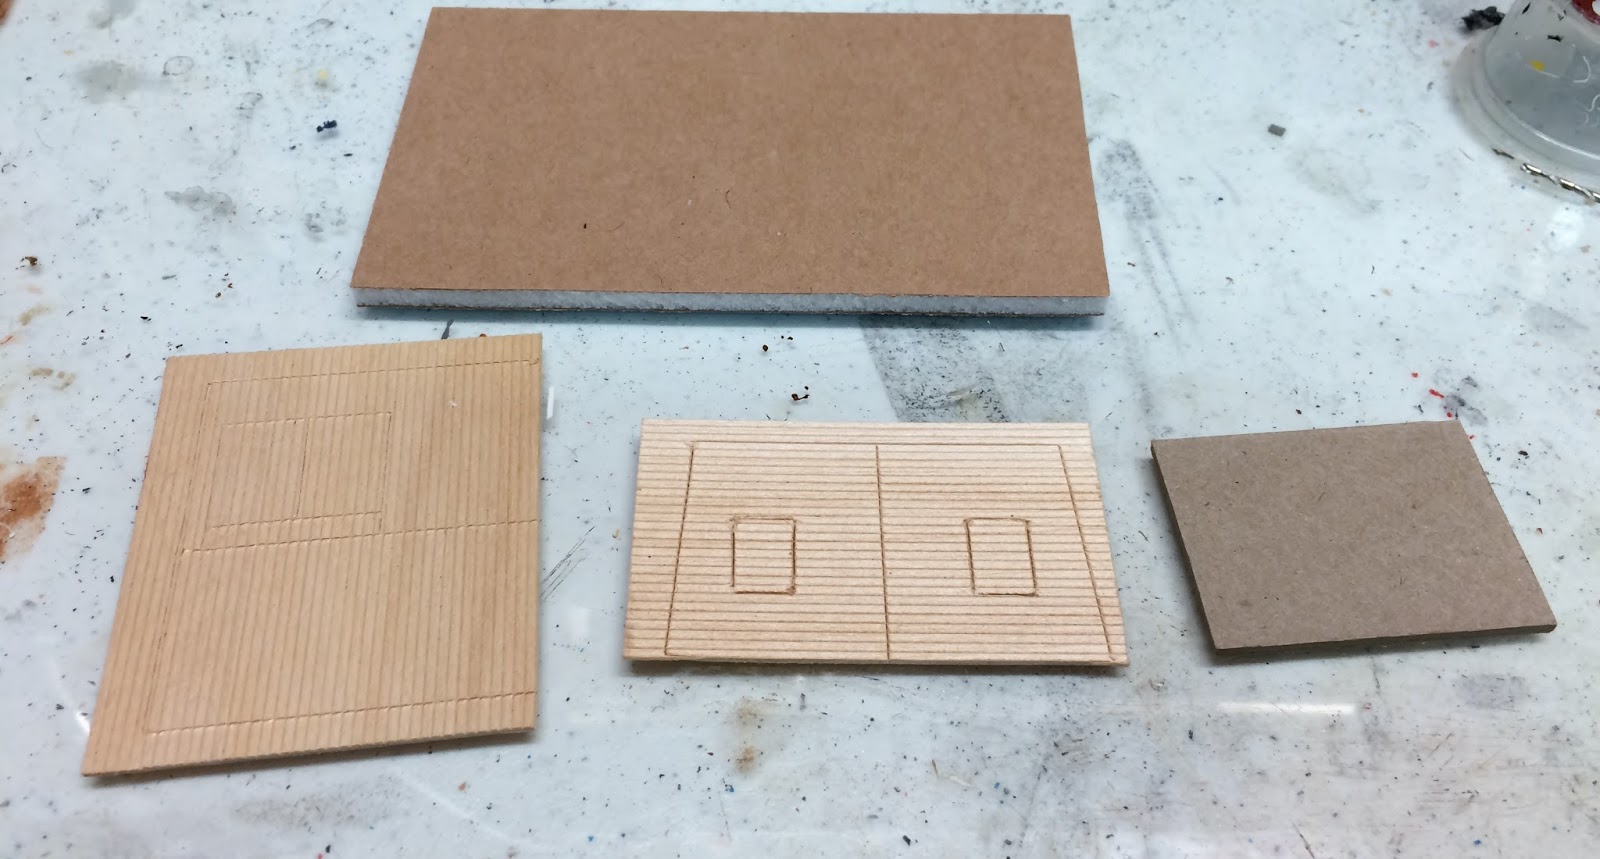

The kit was supplied with all the parts shown. A little cutting and glue, and in two hours,


you have a nice lineside structure. The roofing is paper. I tried to use only the items we would have available at the clinic. I did cheat with the 3D printed hinges.

This is the one I built, There was also a second clinic offered to detail the scene and the interior.
This kit was assembled and detailed by Joe Robertson, MMR., and is, to say the least, OUTSTANDING!


Scratch Built Styrene structure

This was the project, and was supplied with sheet styrene for the roof.


Since I was doing this at home, I designed and 3D printed rafters for the main building. I 3D printed the shed roof in copper infused PLA.

I used paper shingles I drew and printed. The styrene was painted with a paint pen, and weathered with various markers.

Wood Bridge, scratch built

This is a great little project, and fulfills two requirements for the NMRA Master Modeler Structures Certificate. Something other than a standard building, and it is scratch built.

The project is finished up in a couple hours and ready to install.
DPM Kit
The Woodland Scenics Modular Learning kit, Link to Learning Kit, is on of the projects during the show. There is also a clinic on building trees and one on scenery. These three are FREE, presented by Woodland Scenics.

There are the parts for the kit. If you are attending the Amherst show and model in HO scale, you should take the time to take this clinic. It is given once on Saturday and once on Sunday.

I built mine pretty much per the instructions. I did add the roof drains that I 3D printed.

The weathering would not be done in the clinic, but the building and roof are painted as part of the clinic.

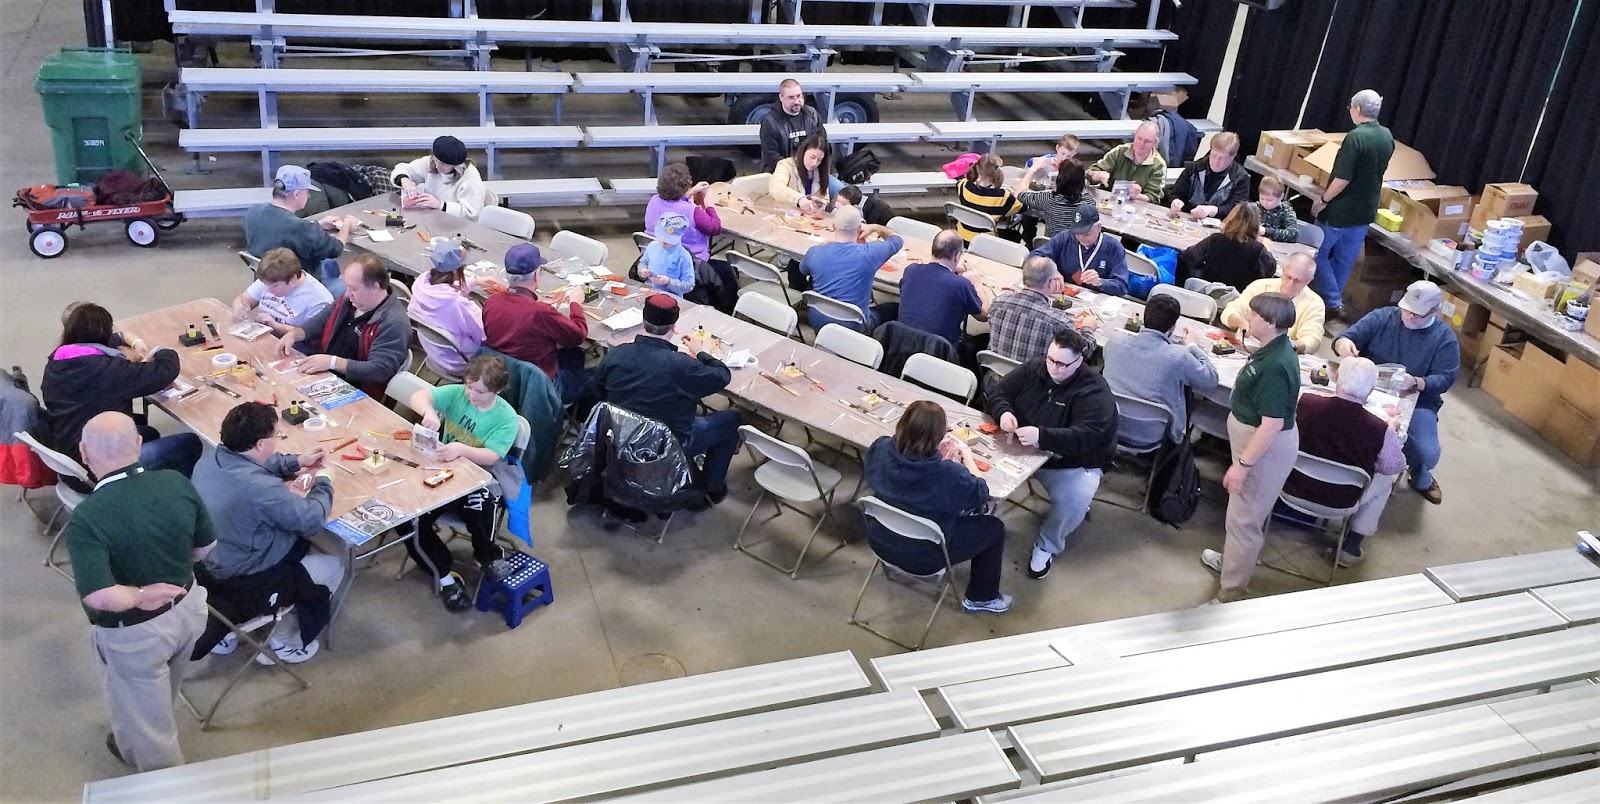
These free clinics are given in the stadium area in the building with the Woodland Scenics booth.
The left over junk.
When we were building the wood kit at the beginning, there were leftovers. I threw them in my suitcase, and when I ran across them many months later, I figured I would kitbash something from the leftover parts. I ended up with this octagon shaped lineside structure.

I covered making the skylights in a previous post, skylights

I designed and 3D printed the bench with details.

Lots of details can be seen through the skylights.

The shovels were also 3D printed on my home printer. They are not really good for foreground models, but they make a good representation inside the building.


One door will open toward the track, for a speeder, and the other has a ramp for vehicles.
If you ever get a chance to attend the Amherst show, don't pass it up! The largest model railroad show in the US, http://www.railroadhobbyshow.com/


