I wanted to build a lumberyard using the Atlas plastic kits, but wanted to make it a larger, multiple building complex. Using three Atlas kits, I am going to kitbash one in to an office and hardware sales area, build one mostly stock, and kitbash the third to be all lumber, and no saw area. I am going to show the building of the third unit in this entry.
The preliminary layout is shown above, with some creosote treated lumber in the upper right and some coal bins in the lower right. Previously I have built the Fine Scale Miniature Barnstead Lumber and blogged about it here: http://nvrr49.blogspot.com/2013/07/fsm-barnstead-lumber-ho-scale.html. I love lumberyards, logging and the related industries.
I bought three of the kits on special.
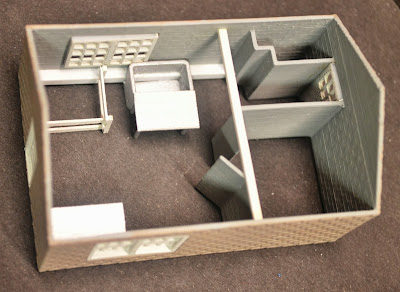
Since I was not using any of the interior on the building I am using as the office/showroom, I was able to cut those parts to fill in the loading dock area to store lumber using those parts. I assembled it on the supplied base, but did not glue it to the base yet.
I cut most of the base away, and the small office that comes with this kit, I had already stolen for use in my logging camp. http://nvrr49.blogspot.com/2013/09/logging-camp-cabins-outhouses-and-boat.html
Here is the assembled model, before painting. Note the base has been trimmed to fit the structure. I wanted most of the plastic on this model to look like weathered wood. I painted all the wood portions of this model with a light tan color, then used Alcohol and Ink to weather the boards.
I also dry brushed some gray paint on the boards to simulate some old paint, and some white on the trim. Long-Bell Lumber, a Kansas City based company, painted their structures gray with white trim. I cut stripwood to fill the bins. I have not glued them in place yet, as I have not finalized how I will arrange the lumberyard. I also made some units of plywood, shown here in the four bins to the lower right.
I cut sheets of plywood from 110# card stock that I had printed cut line on. I also had a color print of several different types of plywood to put on top of the stack. The edged of the cut paper were colored with colored pencils, and the glue was brushed on the sides of the stacks to hold them together.
For the taller plywood stack, I glued the colored plywood to a block of balsa, just to see how it would look. Certainly easier than cutting all that paper. The right side of the building had some cast on detail that I removed, and the scribed the siding back in place. The base was painted ModelFlex Concrete.
Next in this series, I will cover the structure built stock, as the manufacturer intended. That will be a quick entry.


