Splitlog Wagon Factory
Each year the Turkey Creek division of the NMRA hold a build challenge. Last year, 2015, they offered a selection of wood kits, custom made to your scale. The kits were designed and cut out by members of the division, and cut on a Cricut. The windows and doors are Grandt Line. The kits are supplied a February (as I recall), and then everyone brings their models to the June meeting to show off what we have done. Since I just started working on the 2016 model, I thought I ought to post something on the 2015 entry. If you are a model railroader in the KC area, and you aren't a member of the Turkey Creek Division, you are missing out on a great deal on a kit each year!
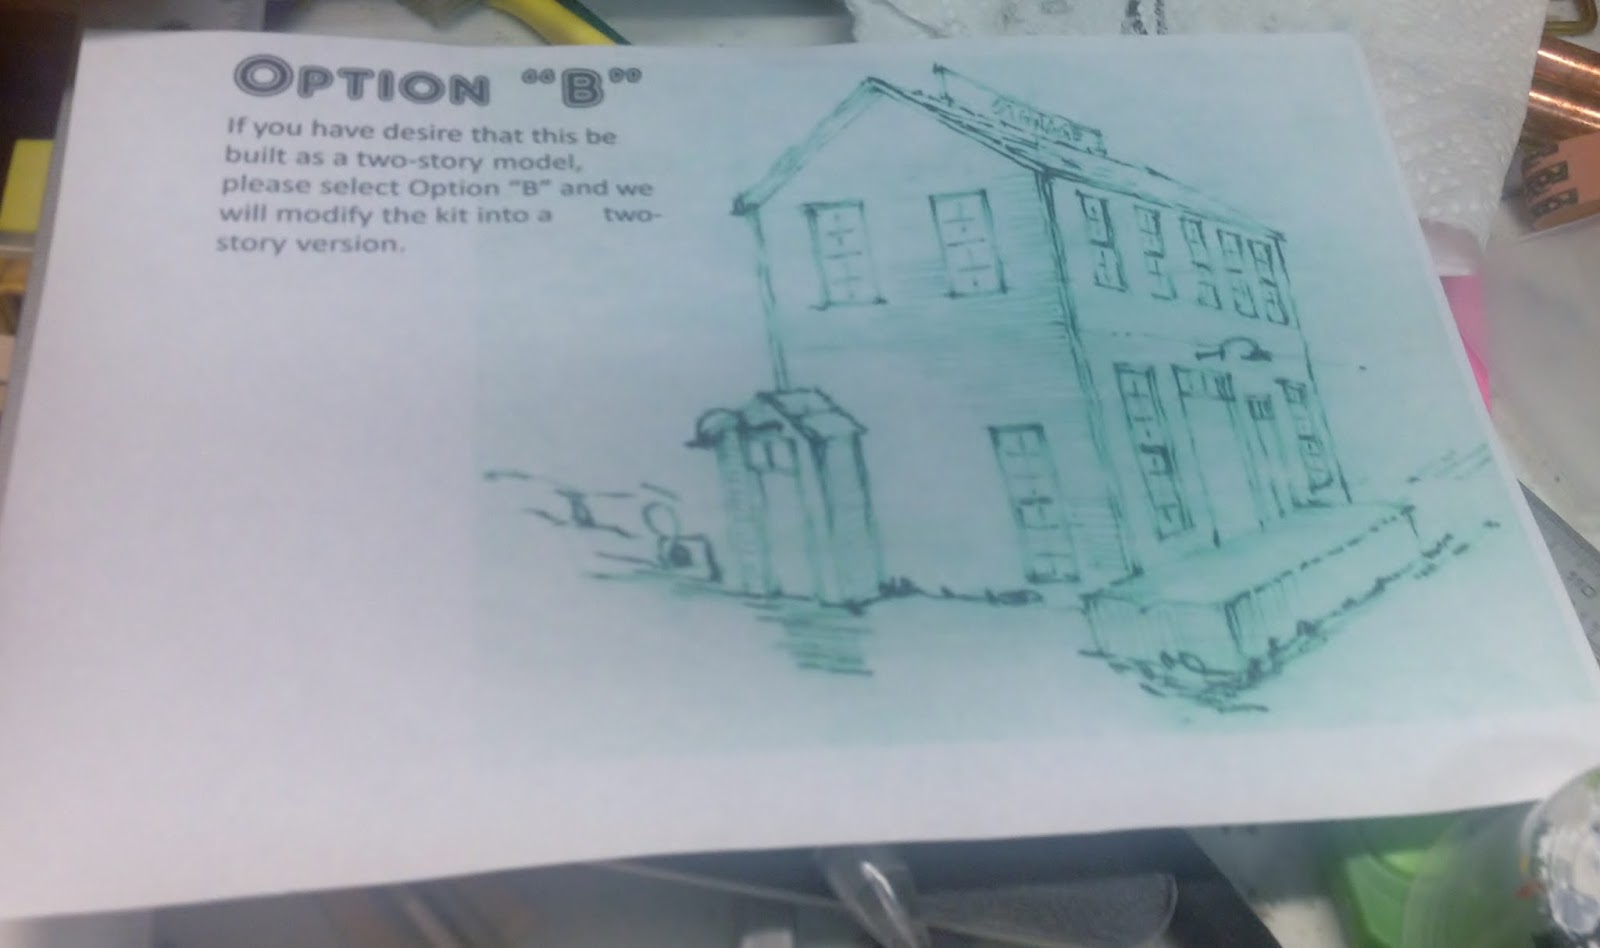
I chose the model, at the time, not knowing what I would do with it. Note that the entry is offset to the back and there is a small lean-to addition on the side away from us. By the way, this picture is basically the only thing that could be called directions. Some parts were bagged and labeled, but otherwise, the picture is it. It is a true craftsman kit.

I ran across this picture of the Splitlog Wagon Factory in Splitlog, MO. Although obviously bigger than the model above, it kind of has the character of the building.

To make the building larger, I made a much larger lean-to on the back side. I stained all the siding with an alcohol and India Ink wash. Then I dry brushed the building with white craft paint.

I painted the interior flat black, and eventually I will install some black construction paper as view blocks so you can't see between floors.

To add even more additional manufacturing space, I added a basement under the lean-to. I designed and 3D printed the foundation. Under the addition, I made concrete blocks. Under the rest of the building, I set the foundation back enough that I could glue real rocks to the face, to have a rock foundation.

Here is a section as it looks coming off the printer.

Here is a shot with the foundation all finished, the rocks glued in place and mortar filling in the spaces.

For the roof framing, I designed and 3D printed prototypical roof framing. Due to the size of the building, versus the size of my printer, I printed each side in two sections.

I also printed roof framing for the lean-to.

I painted and weathered the roof framing to look like wood. I just realized how long this post is getting, so I will split it in to a couple posts.

I installed printed paper, laser cut wood shingles. I glued them on with Aleene's Tacky Glue.

One of the reasons for the prototypical framing, was so that I could make some prototypical looking holes in the roof.

I put a hole on both sides of the roof. I did use a ponce wheel to create nail holes in the siding.

The roof on the lean-to was covered with the roofing supplied in the kit, which was made by the talented Larry Diehl.
In part two, I will install the roof and wall details, install the loading dock, and complete the diorama.
You mentioned that a club member designed and cut the walls on a Cricut. I have a Zing cutter and am wondering did he use basswood or some other material? I have used my cutter for cutting lines in polystyrene to represent Granite Blocks on an O Scale building but have not cut anything for structures yet.
ReplyDeleteHe used Basswood. As a group here in KC, there have been a lot of buildings cut out, probably close to 100.
ReplyDelete