Saturday, October 12, 2013

Just for Giggles, spiral Chimney, glass block windows

There was a thread on www.mrrforums.com by UnityRR that had a picture of a twisted chimney, and there was some speculation as to the best way to model one.  

I thought it would make a unique addition to my box of junk box, so I decided to design and print one.

Here is the second design, the first did not go well, and then the first print.  And yes, there is a hole down the middle.

I found picture of another twisted chimney on line, this one a larger girth chimney with only a 90 degree twist.  So I decided to model it too.

The twisted sisters, wasn't that a rock-n-roll group? 

After the test print on the first, I added a straight section to one end so that the chimney could be trimmed to fit a slopped roof.

I sent samples to UnityRR, and he emailed me these pictures.  Note that after he added the terracotta tops, he realized that he had the top on the wrong end of the taller sister.  

He popped the top off and put it on the correct end.


I was contacted about the possibility of making some glass block windows, and since I had some transparent filament on order, the timing was perfect for giving it a try.

They were interested in building this structure in the Fairfax district here in KC.  I went out a measured the blocks, came up with a drawing, and

printed out a couple test shots.  The one on the left is a scale 4" thick, and the one on the right is 8".

The thinner one is slightly more transparent, but I like the thicker one as it give more gluing surface around the edges.


The A W Enterprises building in Chicago, http://decoarchitecture.tumblr.com/post/5672669251/a-w-enterprises-chicago-illnois-from-roadside, is a building I am thinking of adapting for use on my layout.  I did some test drawings, and then did a test print.


 I used a black gel pen to color in the mortar line on one side, just to see how it would work, and not that would be, not so good.  The Fairfax building has black mortar, and I have not figured out a way to make the black mortar lines on the transparent blocks.

With some back lighting.

Held right up to the light.

I think these will look great back lit in a building.

Tuesday, October 1, 2013

Slaughter House, 3d Printed, Down on the Farm #3

The next building I am making for my farm diorama is the slaughter house.  Below are the plans from the South Dakota State University web site.
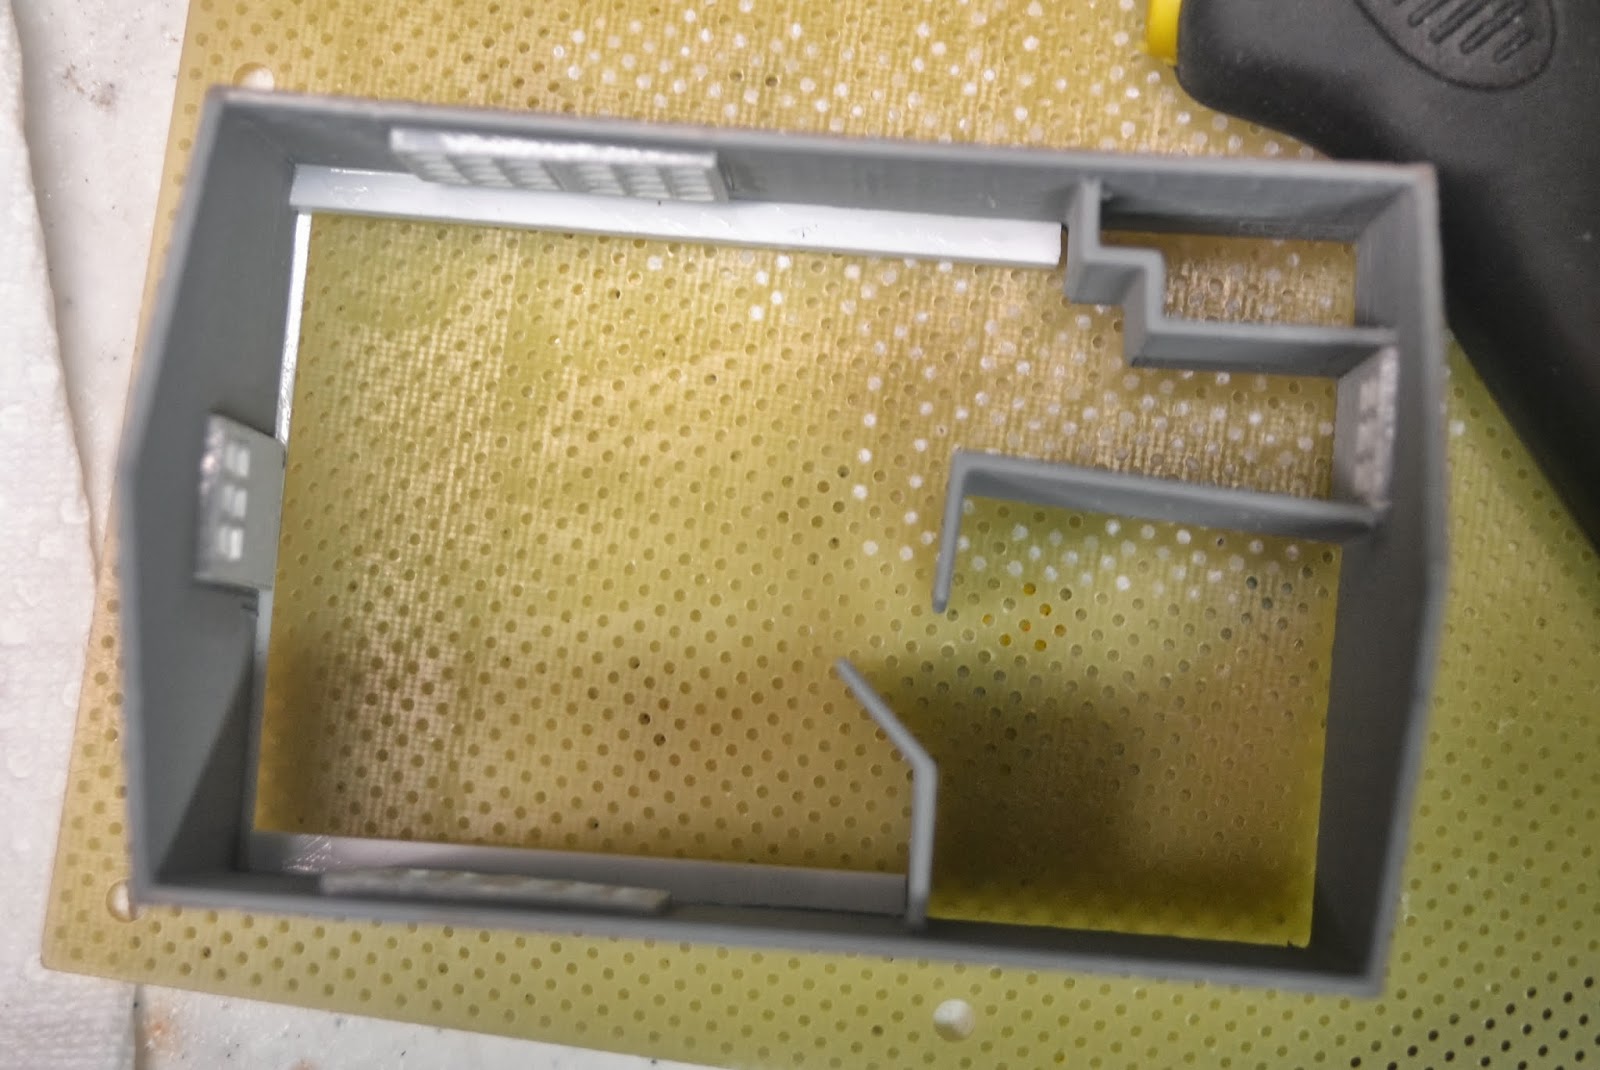
I have adjusted the drawing from my print.  I found several issues with my first print job.  I added printed in place bracing to the corners and the  top and bottom of the walls.  I also added thickness around any openings in the walls.

The printed building is kind of flimsy, the reason I added bracing to the drawing should I ever want to print it again. 

Primed 

I painted the building with Badger's Modelflex Concrete, and the windows with white.

One of the reasons I added thickness around the window and door openings was to make it easier to install them.  With the update, the inside of the windows will be flush with the inside of the walls.  It also provides more surface for glue.

From above you can see some of the bracing I added.  The hallway wall on the freezer room was crooked, not that anyone would be able to see that through the windows, but just in case, I did add a header to connect the walls and straiten things out.


I made the roof out of .080 styrene and reinforced it as shown.

Cutting both sides of the roof the same size seemed the easiest, and then I just added a strip at the ridge and sanded it flush.  

For roofing, I decided to use paper printed (2d) shingles.  To give them some depth, I decided to cut them in to strips, and notch each row half way with scissors.  It sounded like a good idea, but three hours in to it, not so much.  It better look really good when I am done for me to do it again.  

I am not making a removable roof and fully detailing the interior, but I did want to have some detail showing that might be seen through the windows.  Just inside the windows in a holding pen and scalding tank on one side, and a table on the other.

Well you be the judge on the roofing.
I used my Ash Grove Red weather powders on the roof.  On this side you can see the holding pen and the scalding tank through the window.

On this side one can see the cutting table through the windows.

And, if you have read this far, then maybe you are interested in earlier posts in this series.


Saturday, September 21, 2013

Logging camp cabins, outhouses, and a boat

I have a problem staying on just one project.  Maybe I like multitasking, then again, maybe I am really bad at it, as I have several projects that I started over a year ago, and still don't have done.  Given that, why would I start more projects?  For my logging operation, I needed some cheap housing, and came across a couple Atlas cabins at a swap meet for .50 cents each, and realizing I had three Atlas lumberyards that I was going to kitbash, I could then have five logging cabins, which would be enough.  I built them over the weekend a few weeks back.

I painted them up, but in colors that actually are close to the original plastic colors.  I threw away the formed bases that came with the models, and put the cabins up on skids made from strip wood.

These will be a good contrast to the log slab siding cabin that I will use for an office for the camp.  It was 3d printed, and here is a link to the final pictures of that project. http://nvrr49.blogspot.com/2013/08/log-slab-siding-cabin-update.html


I picked up a two pack of outhouses from Built-rite Models, http://built-ritemodels.com/models.html, and assembled them for the logging camp area.


The boat was scratch built out of styrene, just for the heck of it.  This was built based on plans in Model Railroader in March 1985.  I designed the ores and had them printed at shapeways.com.  I guess I can use this around the logging site.

Tuesday, September 17, 2013

Storm Shelter, Down on the Farm #2

Back with the second entry of my Down on the Frame series.  The first was the smokehosue, http://nvrr49.blogspot.com/2013/09/smokehouse-ho-scale-3d-printed-down-on.html.  As with most of the structures to be used on this diorama, the plans are from the University of South Dakota.  Many rural farms have concrete storm shelters, and having traveled many of the back roads in the plains, I have seem them everywhere.  


Here are the plans from the SDSU web site.  Since I do not have an exact plan for the diorama, I decided to model the storm shelter two ways, with the door closed and the door open, showing the stairs.

First the door closed version.  When orienting the item for printing, it is important to consider the layering that appears in the printing process.  Layering shows it's ugly head the most when printing any non vertical or horizontal surface.  For that reason, I oriented the face of the doors horizontally, then added some support to be cut off later to level things up.

This is a shot of the storm shelter as it come off the Afinia printer.  Note the door section is level on top.  Also note the horrible layering showing on the roof.

After priming, it always looks worse.  In this case, it was made worse by my design.  I made the roof too thin, and, in this case, it is so thin you could see through it.  As soon as I print something, find the problems, there is almost always at least one, I fix the drawing.  This was a usable item, in my opinion, and I have no plans on ever printing it again, but if I do, it will be better next time, whether for myself or someone else.

Here is the shelter assembled and painted.  A little sanding, and a second coat of primer does wonders for the layering.  Similar to working with a questionable casting.

I added a vent pipe, and weathered it with Sophisticated Finishes rust.  I used alcohol and ink to weather the boards.  Another change I made on in the drawings after this first print, I added knuckles to the hinges.  Given there very small size, I am not sure they were worth the effort, but we will see if I ever have occasion to print this again.

The drawing for the door open version was problematic, in how to orient the doors for printing.  The doors had to be printed separate from the boards on the sides, and therefore, the hinges are split.

With primer applied, the layering looks worse than normal in this view, and in reality, the verticals are, for some reason, worse than normal.  It really does not matter on the sides, as that will be below ground level.

I assembled the doors with one open 180 degrees, the door on the right, and one open 90 degrees.  I painted the concrete with Model Flex Concrete.

I assembled the pieces using a Methylene Chloride solvent.  The ABS will also solvent weld to styrene.  The vent pipe on this was weathered with Sophisticated Finishes Bronze patina, to give it the weathered brass pipe look.   

A view of both ready to install on the layout or diorama.

Friday, September 13, 2013

Lawn Mower/Small Engine repair shop. Finished pictures

I recently realized that I had never posted any finished pictures of the Lipasek Small Engine shop.  I had post pictures of the detail, but not after the diorama was finished.  There were two earlier posts:

and

but most of the items can also be seen here.

First a couple pictures of the interior of the building.  All the details are items I designed and either printed on my Afinia printer, or had printed at shapeways.com, except the figure..

The wood barrel, the shelves, including the items on the shelves, and the foundation were printed on my Afinia printer.  All the other items were printed at shapeways.com.

With the laser cut building kit in place, this is an overview of the diorama.  The green riders are N-scale tractors to which I added 3d printed HO scale mower decks, seats and steering wheels.

Viewing the back, you can see an old engine and a couple rusted up mower decks.  The weathering powder I use for rust is Ash Grove mortar color.  I use both the Buff  and the Terracotta colors.  The foundation was my first attempt at concrete blocks on my Afinia printer.  I have figured out a lot since then, and more importantly, the software upgrades from the manufacturer have really help with quality and design elements.

Probably my favorite items are the chain saw motors, pretty detailed for 3d printing.  The mowers were quite a drawing project, but both are based on actual riders available in 1949, the year I model.

The walk behind reel mower is based on ads I found on the Internet.  Note the copy of an ad that I made in to a sign to post on the building.

The next entry will probably be the second entry in the Down on the Farm series, and will be a concrete storm shelter.